Using Digital Signal Processing to Make
Your Classic Speakers Come Alive
In the 1970s and 1980s, pioneers of high fidelity audio speakers such as JBL, Klipsch, Infinity and others made revolutionary progress in bringing realism to the home audio listening experience. Through the decades, loudspeaker designs continued to improve by incorporating advanced driver materials and computer-aided crossover designs. Better measurement techniques led to improvements in frequency and time domain response performance.
In recent years, the home audio electronics scene has experienced a similar technological leap forward with digital signal processing (DSP). Dirac Live, today's leading DSP audio technology, fixes one of the weakest components in the audio chain: the listening room. Dirac Live corrects the frequency response and the impulse response of the entire system, from the DAC through the amplifiers, speakers, crossovers and, most importantly, the room. The result is improved imaging and timbre, better clarity and tighter bass, as well as reduced resonances and room modes.
Now the question becomes, how can these two eras be combined? Can I use modern DSP technology to bring my beloved classic speakers into the 21st century?
The answer is a definitive YES. By leveraging today's modern DSP-based preamplifiers, such as the miniDSP SHD or Flex, you can bring new life to your classic speakers.
Updating an L220 Stereo System
The following example involves tuning a system containing a pair of JBL L220 speakers, an innovative James B. Lansing design from the mid-’70s that uses an early textbook approach to crossover design. The speakers in this example have been updated with modern crossover components; otherwise, the design is completely original.
What sets the JBL L220 apart in today's modern audio world is the quality of its raw drivers. The JBL 076 Cat Eye tweeter, the LE5-9 mid-range and the 12-inch LE14A with Aquaplas woofers were, and still are, fantastic driver designs. However, their overall performance was limited by the old fashioned crossover design.

1. JBL L220 speakers

2. JBL 076 Cat Eye tweeter
The image below shows the crossover components where the attenuators and some old electrolytic capacitors have been replaced. The wax filled capacitors were measured and found to be in excellent condition.

3. JBL L220 Crossover board
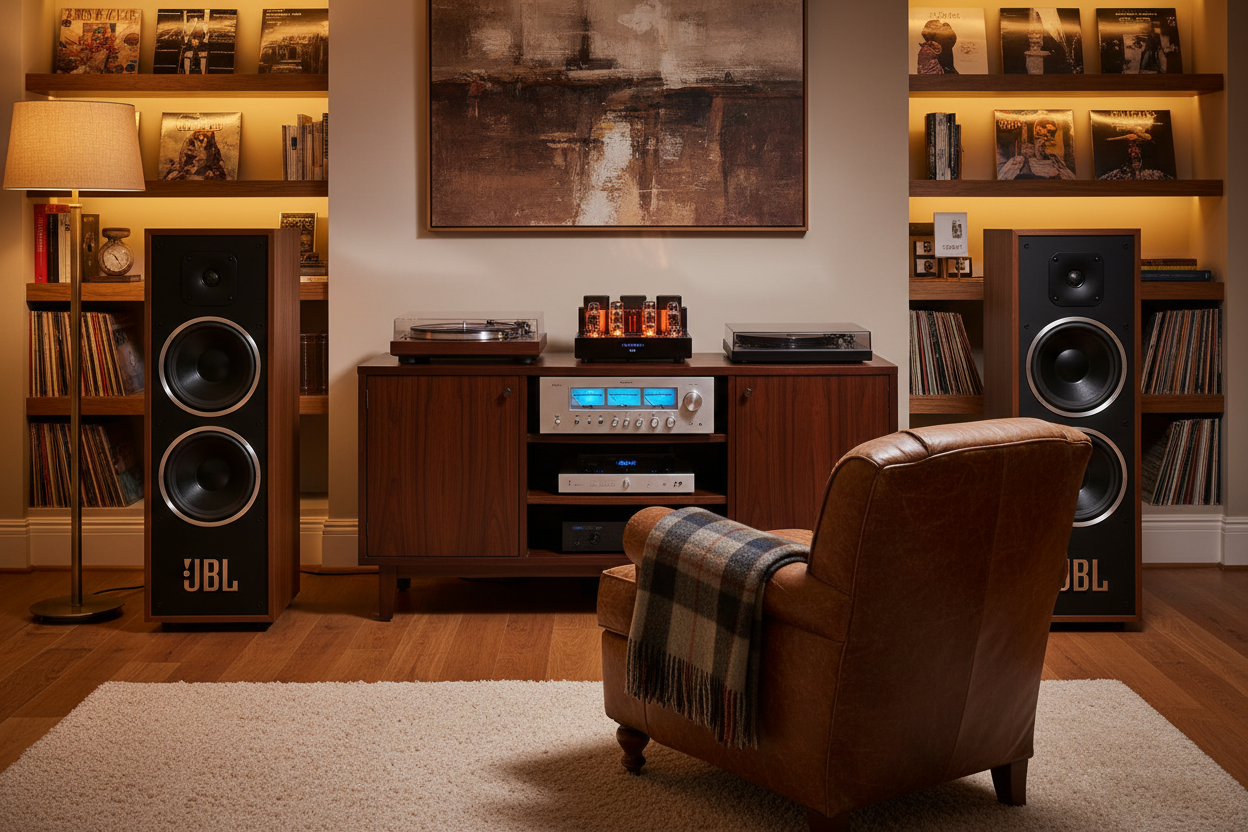
In addition to the JBL L220 speakers, the system in our example includes a miniDSP SHD (pre-amp), a pair of Hypex Class D mono block amplifiers, two high performance 12-inch subwoofers and Dirac Live technology.

4. L220 stereo system
The primary objective for this project is to improve the overall listening experience with better dynamic range, imaging and resolution between instruments and voices. This process includes:
-
Verifying speaker driver and crossover component performance
-
Optimizing the frequency and time domain responses
-
Extending the low frequency response to the lowest octave
Crossover and Amplitude Optimization
To accomplish these goals, begin by creating optimal high and low pass crossovers for the L220s and subwoofers in the SHD Device Console application.
The following plot shows the resultant frequency response of the subwoofers and L220s with the crossover in place. Also shown are the subwoofer only responses and L220 only responses. The crossovers and relative amplitudes between the subwoofers and L220s have been adjusted to get a nice downward slope, commonly known as the Harman curve.

5. REW crossover measurements
This image shows the crossover structure that was set in the SHD Device Console setup page.

6. Crossover design in SHD Device Console
This image shows the relative levels, delays and inversions set in the SHD Device Console application.

7. Relative levels, delays and inversions
This is a good time to do some serious listening and real time adjustments of the relative levels and crossovers. Play with the system until you feel you've got the best setup for your range of music listening. Once you're satisfied with the results, it's time to move on to a Dirac Live project.
Performing Dirac Live
Now that the basic setup is complete and you are satisfied with the listening results, it's time to perform a Dirac Live project on the system as a whole. The Dirac Live process involves making a series of measurements in a three-dimensional space defining the designated listening area.

8. Dirac Live microphone placement positions and measurement
After you have performed the prescribed number of measurements in their proper locations, you are taken to the filter design page. This is where Dirac Live recommends a target curve for your listening space, which is a variation on the classic Harman curve. This target curve is user adjustable. In the diagram below you can see the target curve, initial measured response and the predicted response.

9. Measured response versus predicted corrected response
Listening With and Without Dirac Live Enabled
From the SHD remote control, you have the ability to turn Dirac Live on and off for real-time comparison. For many listeners the result is an eye opening experience that allows them to enjoy the depth, layering and imaging of sound typically found in a live performance in their listening space.
So whether it's a calm Sunday morning with Beethoven or a high impact session with Led Zeppelin, you’ll be able to enjoy your vintage speakers like never before.
We’re here to help modernize your audio system and bring your beloved classic loudspeakers into the 21st century. Feel free to give us a call or drop a line.
Share: